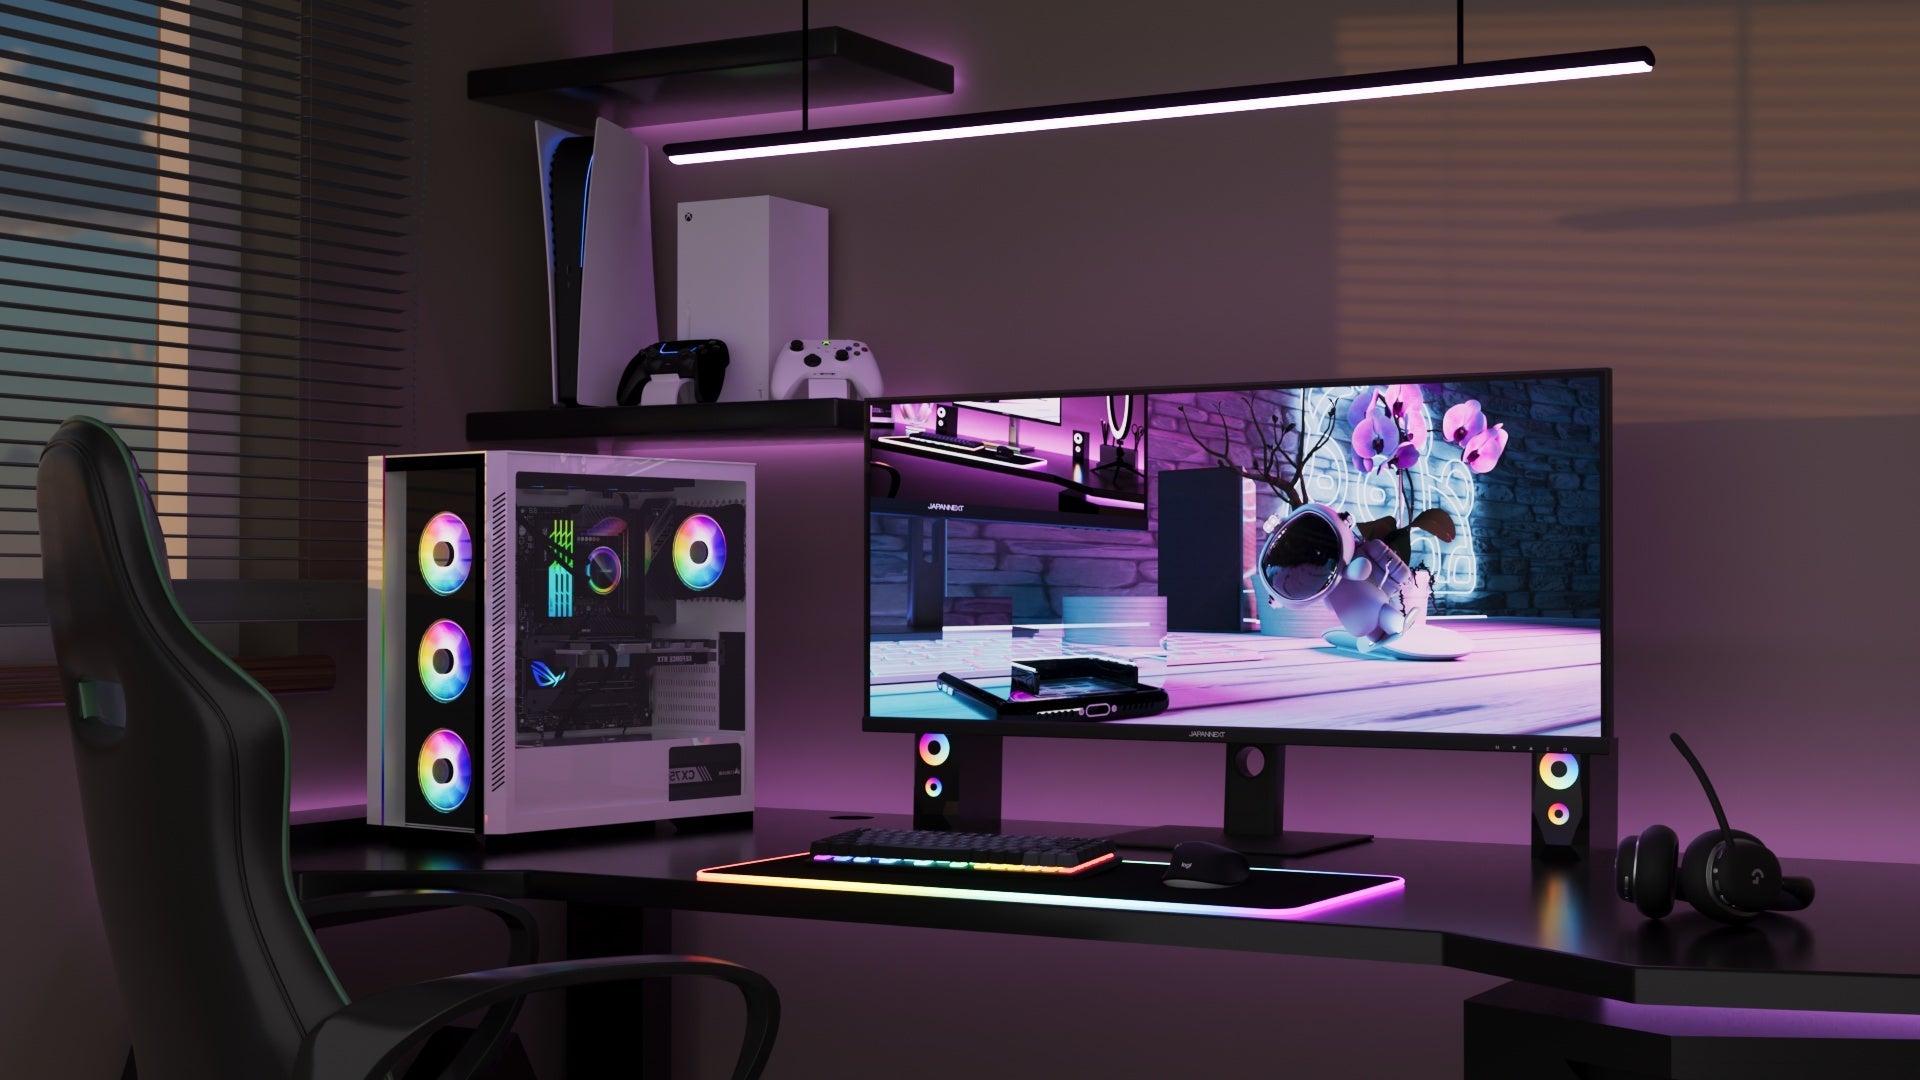
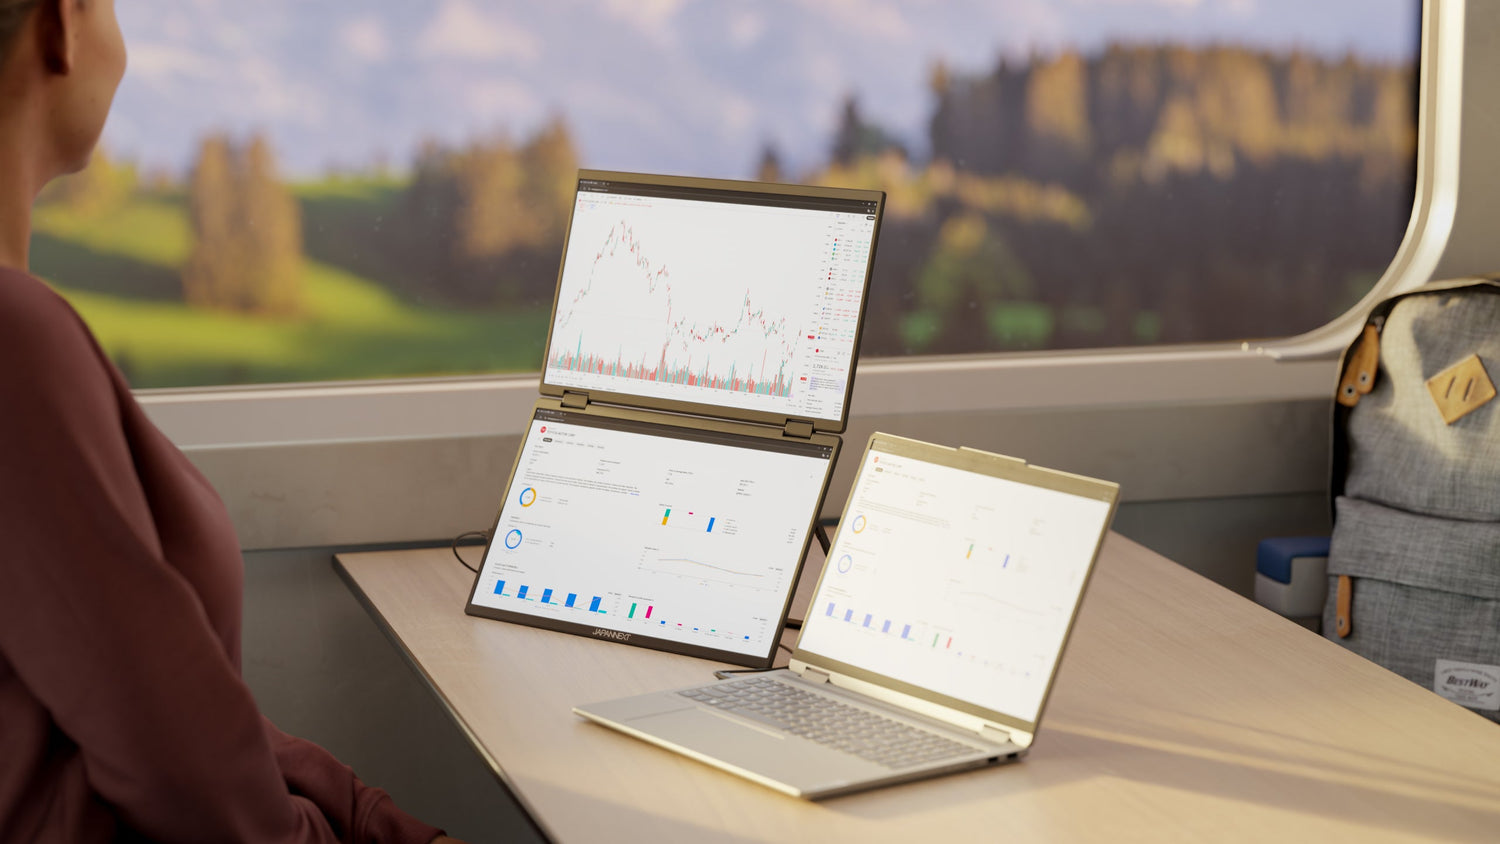
Ultrawide monitors offer a great visual experience given their large size and high resolution. They are suitable for gamers, graphic designers, photographers and videographers, or anyone who simply wants a better display on their computer. To take full advantage of these large-format monitors, you need to install and configure them correctly. In this article, we'll explain how to install and configure your ultrawide monitor step by step.
Getting started: choosing the right spot and checking the wiring
Choosing the ideal spot for your ultrawide monitor
Before you even begin setting up, you need to choose a suitable location for your ultrawide monitor. Here are a few tips to help you choose the ideal environment:
- Choose a well-ventilated space and avoid placing your monitor near a window or source of heat.
- Make sure the surface on which you place your monitor is solid and stable.
- Check the space available for your monitor, taking into account its width, height and the depth of the stand. Some models can swivel for vertical use.
- Think about ergonomics: position the monitor at a comfortable distance and angle to avoid eye and body strain.
Check the necessary connections and cables
Ultrawide monitors generally offer a range of connection options, including HDMI, DisplayPort, USB-C or Thunderbolt 3. Before you install your monitor, check what type of cable you need to connect it to your PC and make sure it's included in the monitor box or that you have one.
Installing the monitor: mounting on a stand or wall support
Mounting the Monitor Stand
The first step in this process is to assemble the stand and attach it to the monitor. To do this, follow the instructions supplied with your monitor:
- Unpack and install the stand according to the instructions.
- Place the monitor face down on a soft surface to avoid damaging the screen.
- Align the stand with the fixing holes behind the monitor and secure the base using the screws supplied.
- Before placing the monitor on your desk, make sure the stand is stable and securely attached to the monitor.
Wall mounting
If you want to mount your ultrawide monitor on the wall to save space on your desk or for a better visual experience, the following steps will help:
- Check that your monitor is compatible with the VESA standard, which allows monitors to be attached to a wall mount.
- Choose the right wall mount for your monitor based on its weight and size.
- Install the wall mount according to the manufacturer's instructions and make sure it is securely fixed to the wall.
- Remove the stand from the monitor if necessary and attach the monitor to the wall mount using the appropriate screws.
Remember to take all the necessary precautions when installing the monitor on a wall to avoid any risk of falling or physical or material damage.
Connect the ultrawide monitor to your PC and setup the display settings
Once the monitor is installed, you now need to connect it to your PC and adjust the display settings to take full advantage of your new equipment. Here's how to do it:
Connecting the video cable and power supply
- Connect one end of the video cable (HDMI, DisplayPort, USB-C or Thunderbolt 3) to the equivalent video output on your PC.
- Insert the other end into the video input of your ultrawide monitor.
- Plug your monitor's power cable into an electrical socket.
Setting up the display parameters in Windows 10
To configure the display settings for your ultrawide monitor with Windows 10, follow these steps:
- Right-click on the desktop and select "Display settings".
- In the window that opens, check that the ultrawide monitor is detected. If it isn't, click 'Detect' to force detection.
- Select the ultrawide monitor and adjust the resolution to take full advantage of the width of the screen. The recommended resolution should be automatically suggested by the system.
- Also configure the monitor direction (portrait or landscape) if required.
- Finally, choose the desired display mode: duplicate, extended or as a single monitor.
Adjust settings and advanced features of the ultrawide monitor
Now that your ultrawide monitor is installed and configured, it's time to adjust its settings and discover some interesting features that will improve your user experience:
Adjusting brightness, contrast and color
Access your monitor's OSD (On-Screen Display) menu using the buttons usually located on the bottom of the monitor's frame. From here, you can adjust brightness, contrast and colour saturation to suit your preferences.
Using monitor sharing mode (Picture-by-Picture or Picture-in-Picture)
Some ultrawide monitors have Picture-by-Picture (PBP) or Picture-in-Picture (PiP) capabilities. By activating these modes, you can display two different video sources side by side or simultaneously on a single monitor, which can be useful to compare images or work on several applications.
Some suggestions of ultrawide monitors
Here are some ultrawide monitor models for gaming or office work:
JN-IPSC34UWQHDR-C65W-H: this 34-inch curved monitor offers UWQHD resolution with an IPS panel for image quality that meets the expectations of professionals as well as gamers. The USB Type-C charging feature adds further ease of use.
JN-IB375C144UQR-H: Featuring 3840x1600 UWQHD+ resolution, a 144Hz refresh rate and an impressive 37.5-inch screen size, this monitor delivers exceptional performance, blending speed and visual quality without compromise.
JN-5X40: With its 39.7-inch size and WUHD resolution of 5120x2160 pixels, this monitor is a versatile solution designed to enhance your user experience. Whether for office use or content creation, it delivers outstanding image quality and a truly immersive experience.
The final word
Remember that every ultrawide monitor has its own advanced features and functions that can enhance your user experience. Check your device manual for specific information on these options and get the most out of your new monitor.


